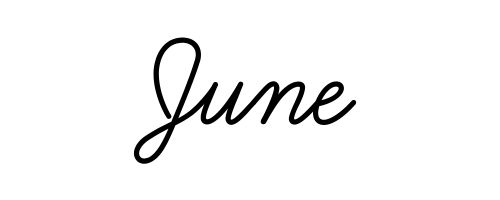
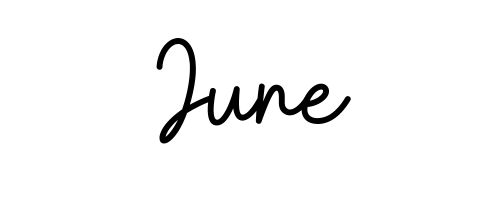
Welcoming summer, “June” in cursive is a radiant blend of smooth curves. This session will illuminate the effortless transitions between each letter, making your handwriting as warm and inviting as a summer day.
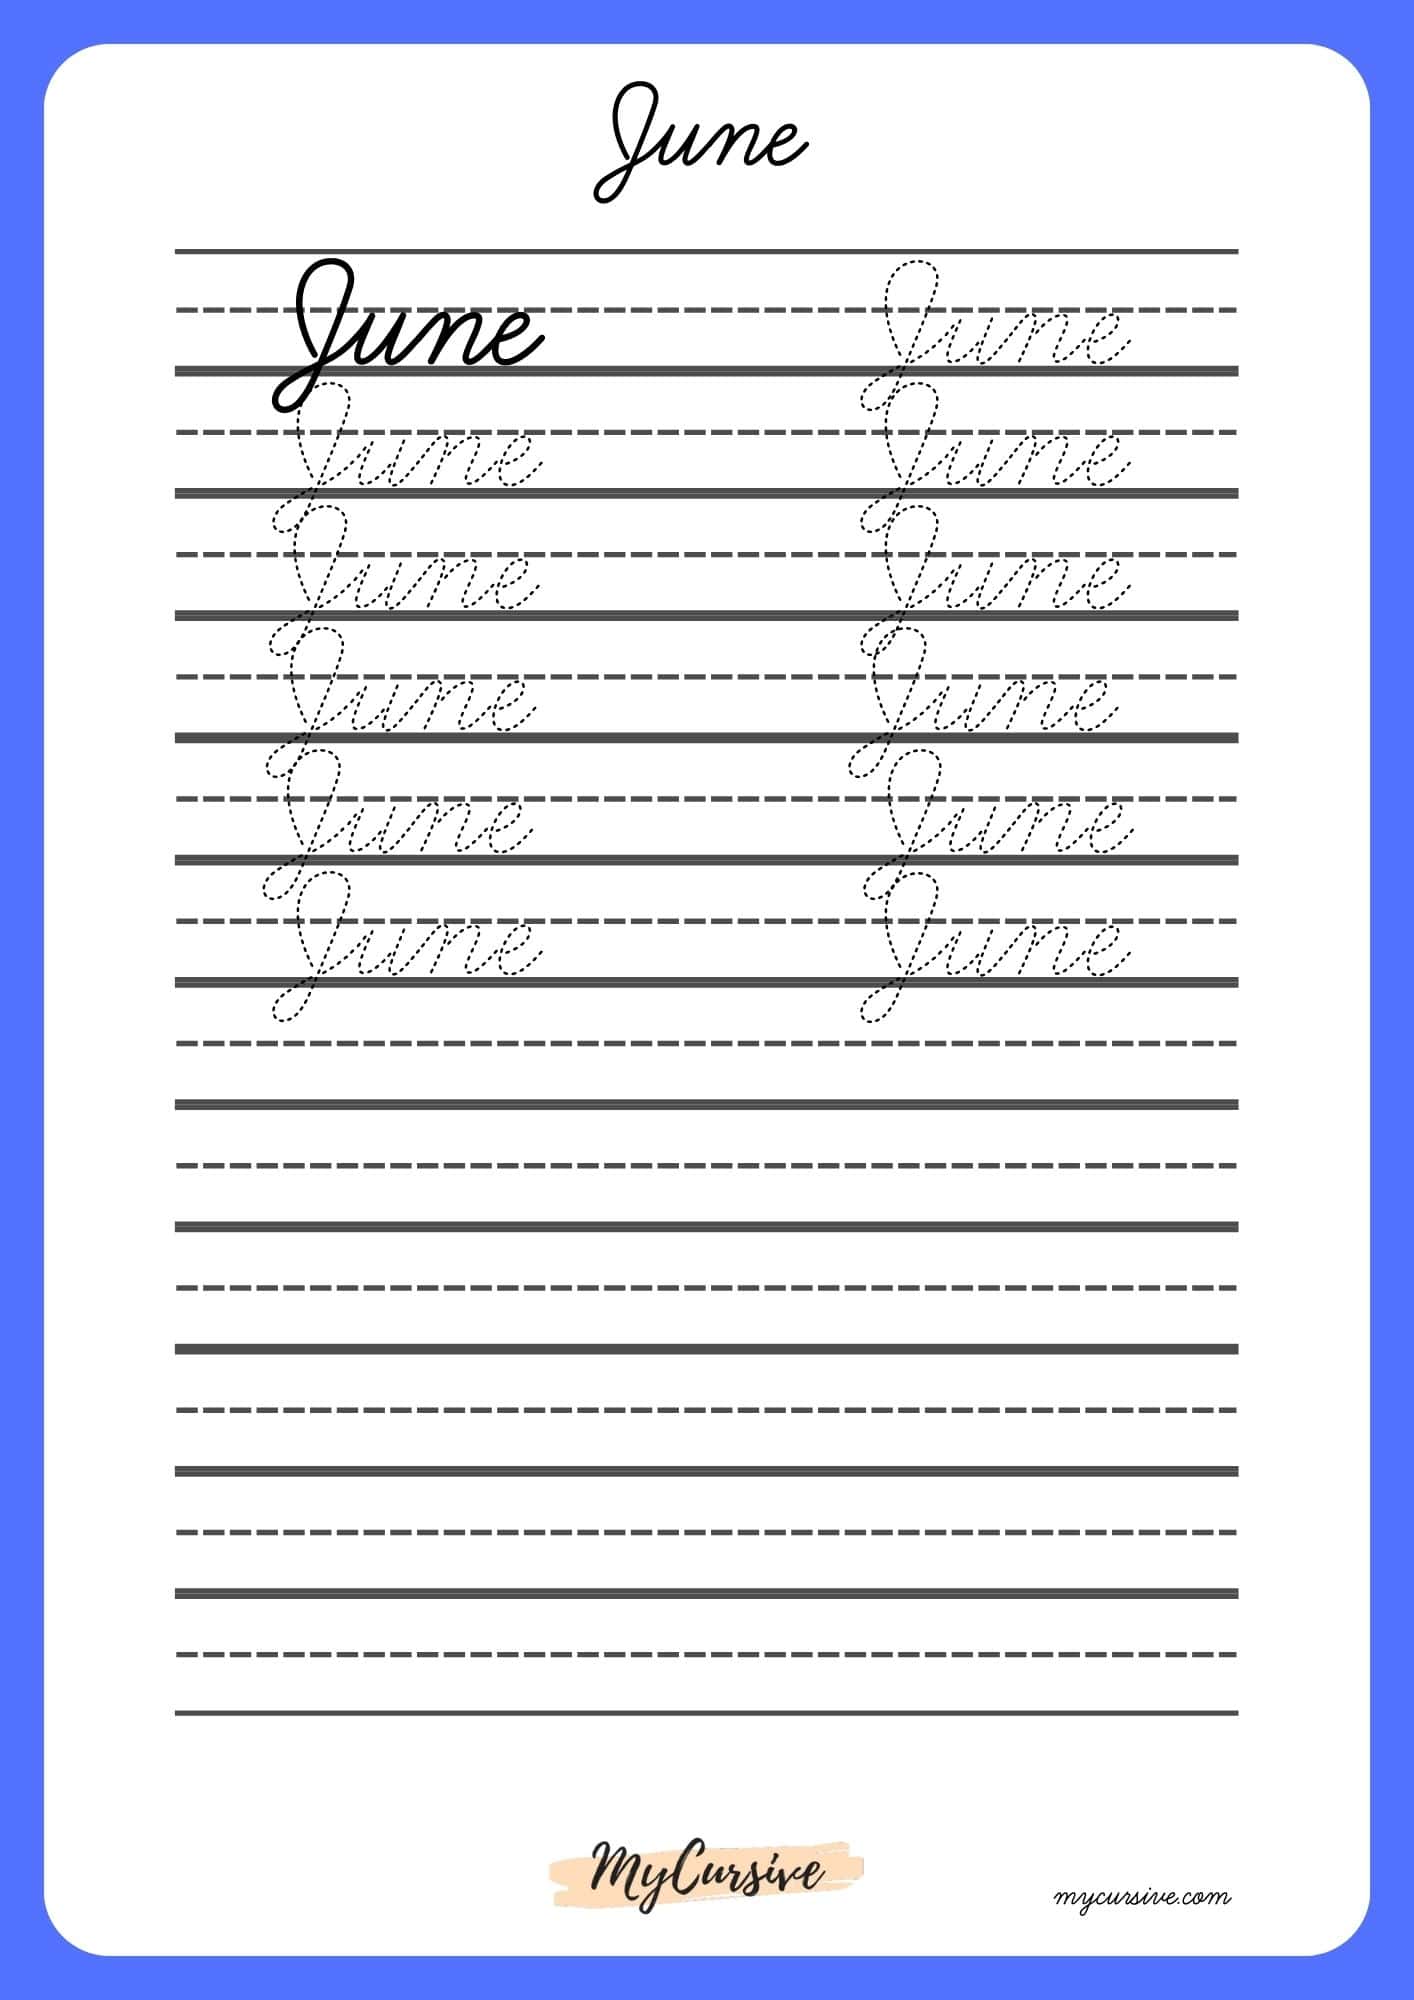
How to Write June in Cursive
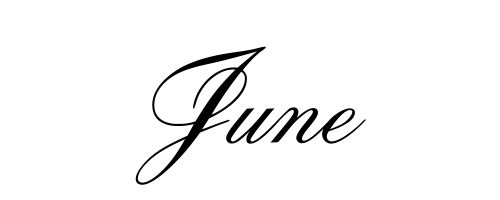
“June” in cursive provides a nice flow between letters. Here’s a step-by-step guide on how to write “June” in cursive:
J: Start with the uppercase “J”. Begin a little above the midline, make a curve to the left, and then swing it downward below the baseline. As you approach the bottom, curve it slightly to the left, then arc back up and to the right, preparing to connect to the next letter.
u: Connect from the “J” by curving upward slightly, then descend in a gentle curve down to the baseline. Gracefully curve it back up to the midline, and then bring it back down to the baseline, preparing to connect to the next letter.
n: Start the “n” by moving upward from where the “u” ended. Curve above the midline and then curve downward to touch the baseline. From there, create a small loop that arcs back up to around midline height and then descends again, preparing for the connection to the last letter.
e: Connect from the “n” by curving slightly upward and then descending to the baseline. Create a loop that swings back up near the midline and then comes down in a semi-circle motion, completing the word.
For the best results when learning to write “June” in cursive, practice each letter separately at first. This will help you become familiar with the movements and forms of each character. Once you’ve gotten the hang of individual letters, practice stringing them together in the word. For those who benefit from visual aids, consulting images or videos of “June” written in cursive can be quite helpful.