Quick Navigation: July Cursive Guide, Worksheets & Printables
Celebrate the peak of summer by mastering “July” in cursive. Its juxtaposition of soft loops and pronounced curves offers a rewarding challenge. Dive in with me to capture the essence of this sun-filled month on paper.
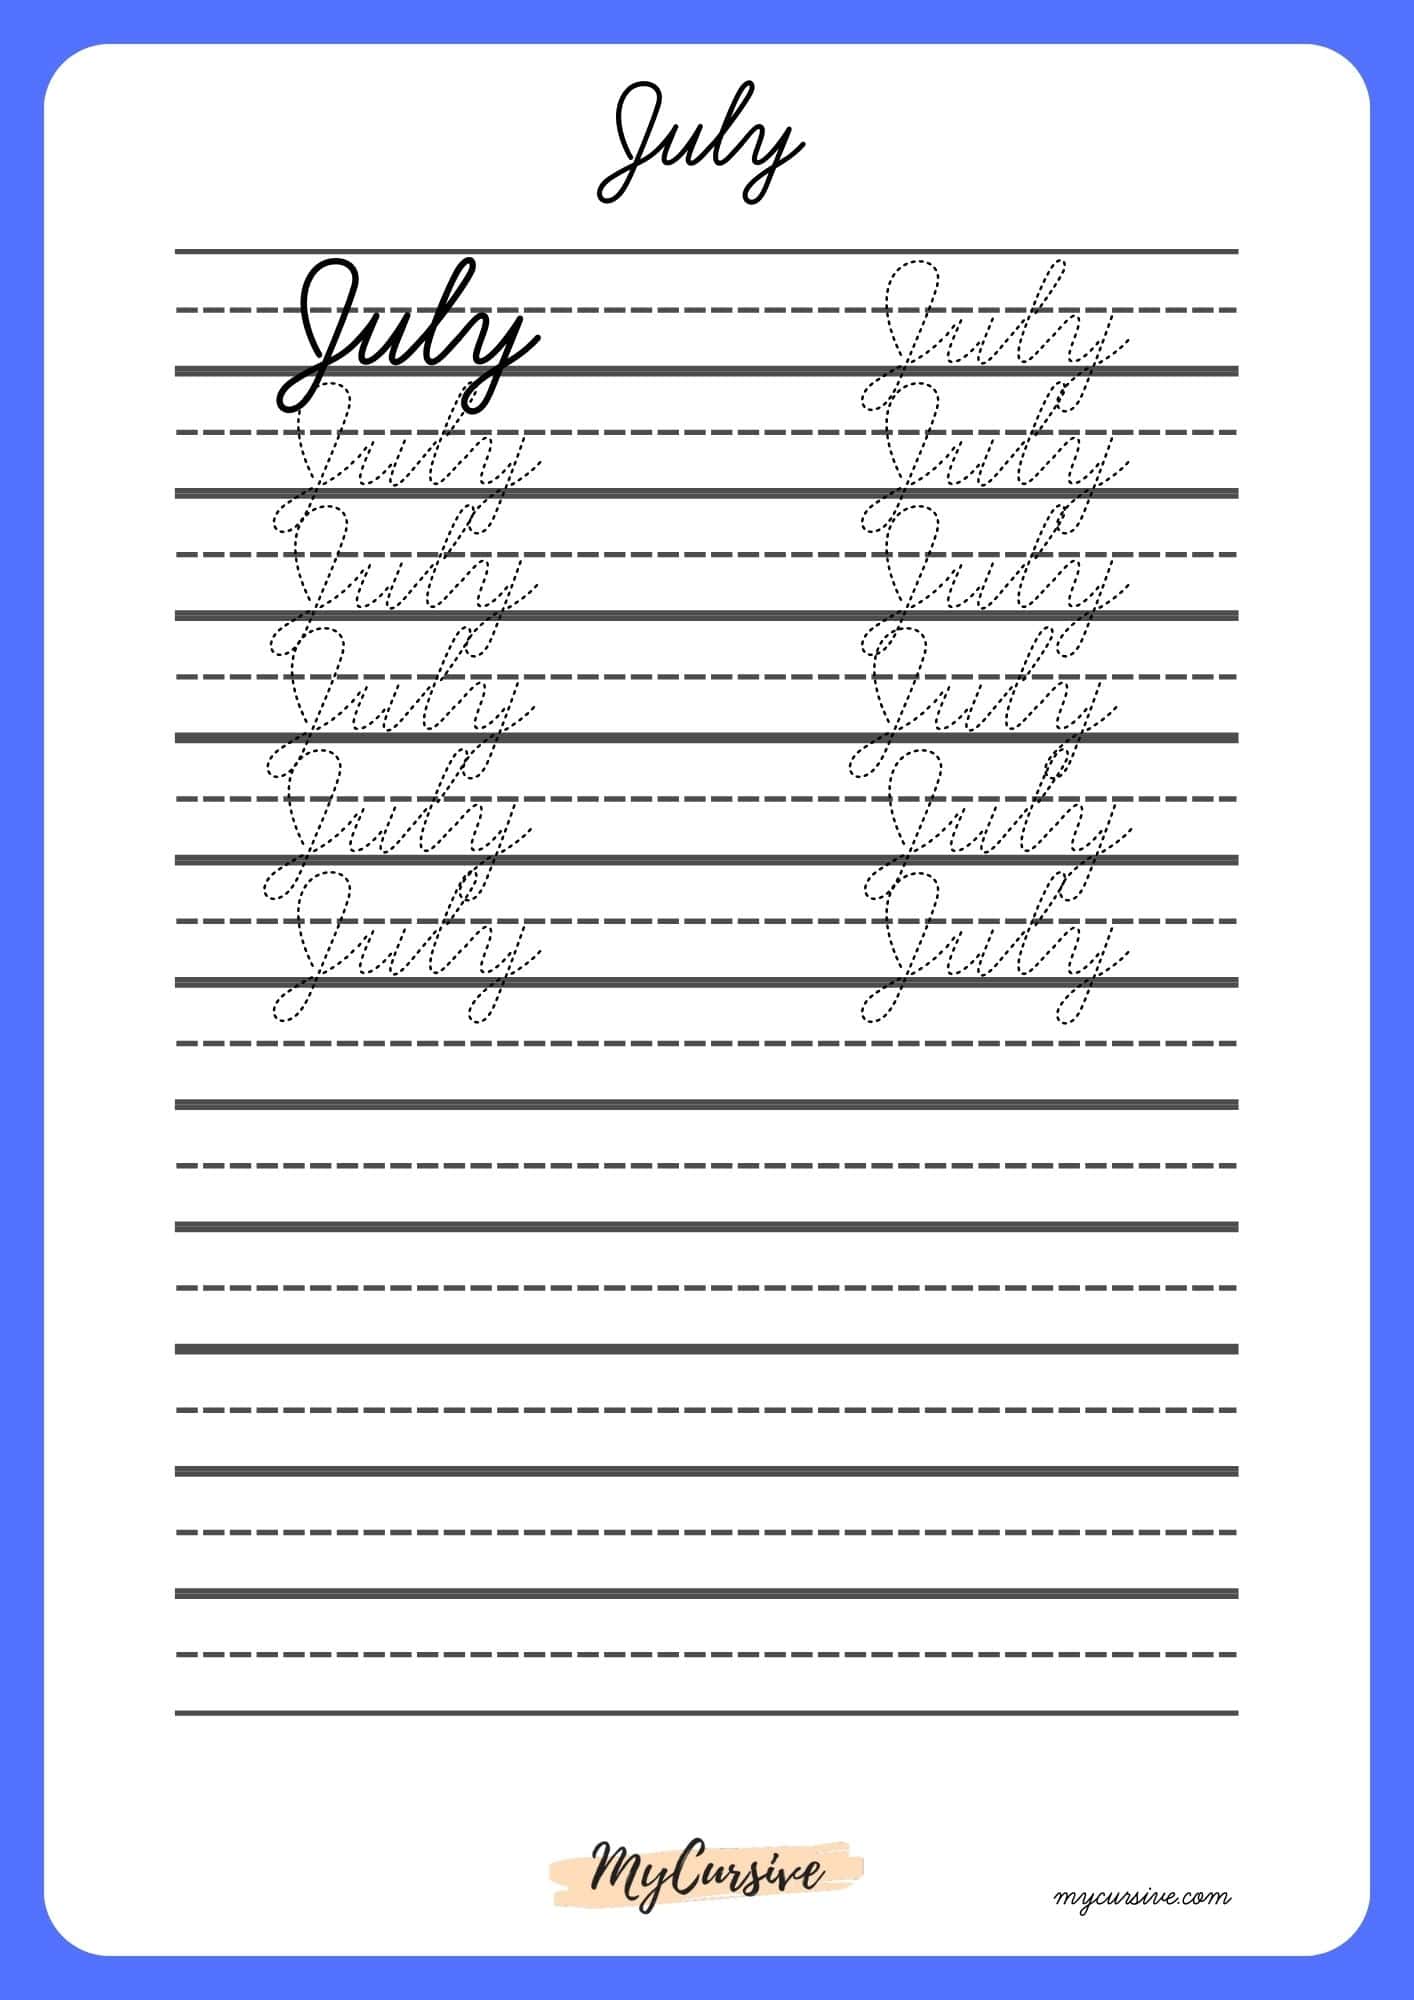
How to Write July in Cursive
July” in cursive offers a flowing combination of letters. Here’s a step-by-step guide on how to write “July” in cursive:
J: Start with the uppercase “J”. Begin slightly above the midline, create a curve to the left, and then swing it downward, passing below the baseline. As you approach the bottom, curve it a bit to the left, then arc back up and to the right, preparing to connect to the next letter.
u: Connect from the “J” by curving upward slightly, then descend gracefully down to the baseline. Curve it back up to the midline, and then descend again to the baseline, preparing to connect to the next letter.
l: Begin the “l” by moving slightly upwards from where the “u” ended. Stretch up above the midline and then gracefully descend down to the baseline, forming the elongated body of the “l”.
y: From the “l”, start by making a curve that rises slightly and then descends smoothly below the baseline. Once below the baseline, gracefully arc the tail of the “y” to the right, forming its characteristic hook. The tail should dip significantly below the baseline.
When learning to write “July” in cursive, consider practicing each letter individually at first to get a good feel for their shapes. Once you’re comfortable with the individual characters, practice connecting them smoothly to form the word. For those who find visual guidance beneficial, checking out images or videos of “July” written in cursive can provide a clear reference.