Table of Contents: Step-by-Step Saturday Cursive Writing Guide
Welcoming the weekend with a flourish, “Saturday” in cursive is a joy to write. With its delightful combination of loops and curves, this tutorial promises an enriching experience for all handwriting enthusiasts.
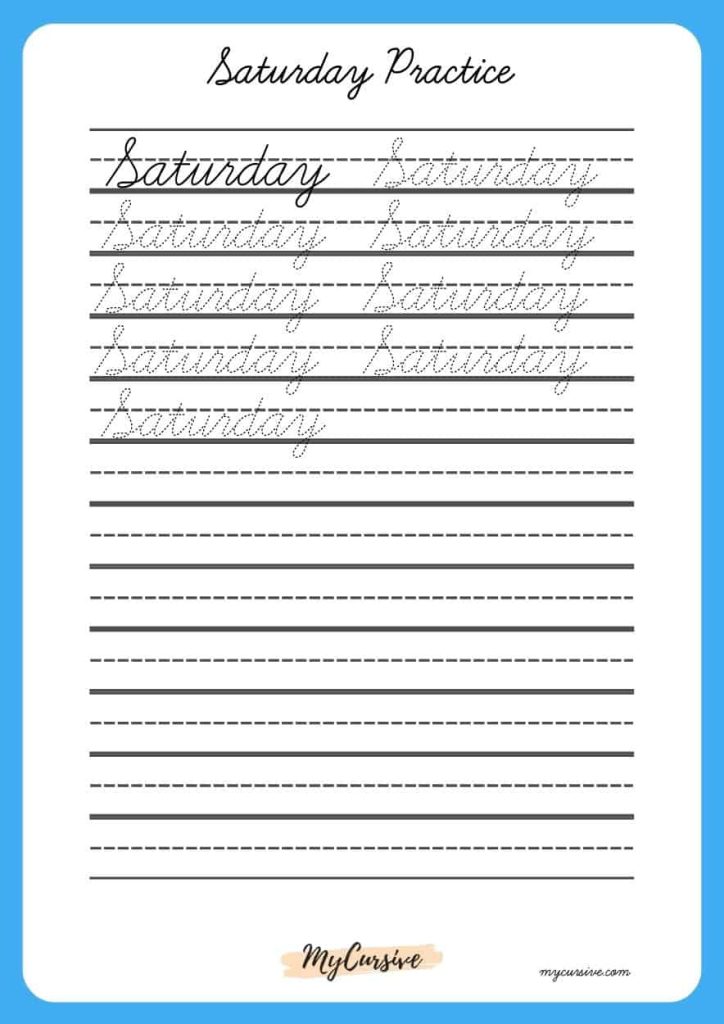
How to Write Saturday in Cursive
Writing “Saturday” in cursive involves smoothly connecting each letter. Here’s a step-by-step guide on how to write “Saturday” in cursive:
S: Begin with the uppercase “S”. Start slightly above the baseline, making a small loop to the left, then curve to the right, forming a larger loop that resembles a backward “s”. Loop back up towards the midline, preparing to connect to the next letter.
a: Begin the lowercase “a” by connecting from the “S”. Start by curving up slightly, then curve down almost touching the baseline. Curve back upwards and then down again to create a loop. The end of the “a” will slightly touch the baseline, preparing to connect to the next letter.
t: Connect from the “a” by making a straight line up, going slightly above the midline. Curve it back down to the baseline, and then make a small curve to the right. Add a horizontal line through the upper part of the “t”, but ensure the line does not block the connection to the next letter.
u: Begin the “u” by making a small upward curve connected from the “t”, then go down in a slight curve almost touching the baseline and curve it back up to the midline. Curve it back down towards the baseline, preparing to connect to the next letter.
r: Connect from the “u”. Start by going slightly upward from the baseline, then make a downward curve that touches the baseline and curves back up, but not as high as the midline, preparing to connect to the next letter.
d: Begin the “d” by connecting from the “r”. Start by making an upward curve that goes well above the midline, then come down and curve slightly to the left, almost touching the baseline. Curve back upwards to touch the midline and then make another curve that goes down to the baseline.
a: Connect from the “d”. Go up to make a small curve, then come back down almost touching the baseline. Curve upwards and then down again to create a loop, similar to the first “a”.
y: From the bottom of the “a”, make a curve that descends below the baseline and then curves up to the right, forming a hook. The “y” should have a tail that dips below the baseline.
Practicing each letter individually and then working on connecting them is key to mastering cursive handwriting. With continued practice, the motion of writing “Saturday” in cursive will become fluid and automatic. As always, for visual learners, it’s beneficial to watch videos or reference images of “Saturday” written in cursive.
saturday cursive, cursive copy paste, saturday in cursive, cursive copy and paste, saturday in cursive writing, cursive s, saturday cursive writing, how to write saturday, how to write a z in cursive, how to write a s in cursive, santa in cursive, cursive s capital, weekend in cursive, capital s in cursive