February in Cursive: Guide, Worksheets & Printables
“February” might be the shortest month, but in cursive, it’s rich with intricate connections. Let’s explore the flowing transitions and gentle arches of this month’s name. By the end, you’ll be scripting February with elegance and ease.
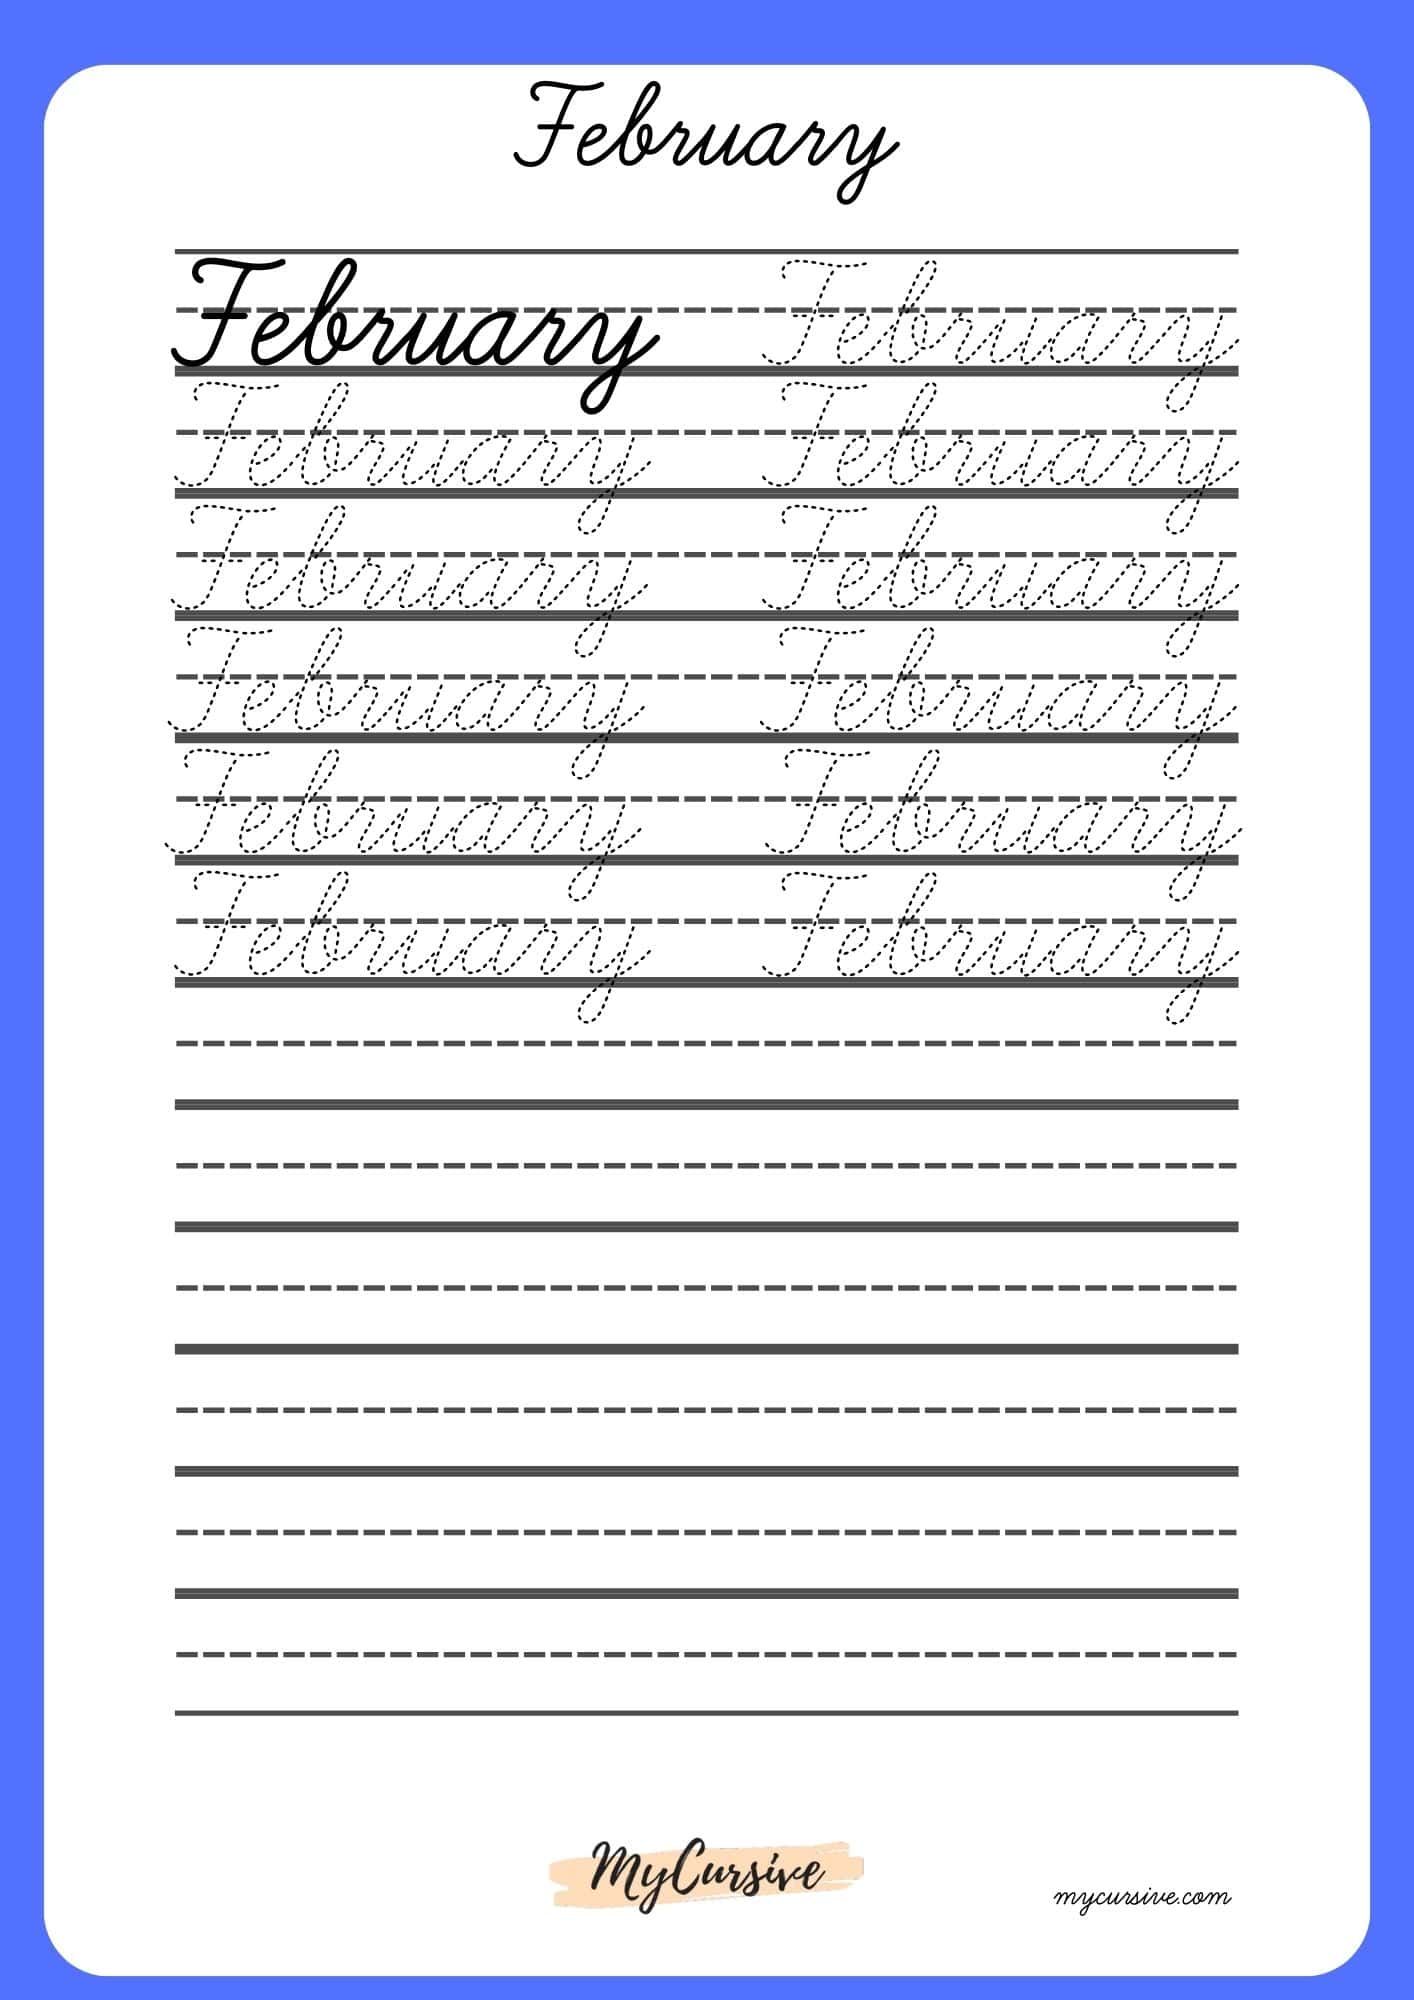
How to Write February in Cursive
Writing “February” in cursive is a delightful exercise with its varied letters and loops. Here’s a step-by-step guide on how to write “February” in cursive:
F: Start with the uppercase “F”. Begin a little above the midline, make a loop by curving to the left, then bring it down below the baseline, creating a slight curve at the bottom. Now, draw a horizontal line across the top (just below the midline) and another at the midline. The tail of the “F” will prepare to connect to the next letter.
e: Connect from the “F” by curving slightly up, then curve down to touch the baseline. Make a small loop that arcs back up near the midline and then swings down in a semi-circle, preparing to connect to the next letter.
b: Start the “b” by connecting from the “e” with an upward curve. Go up well above the midline, then curve downward in a straight line, touching the baseline. From there, curve back up and around to the midline, creating a half-circle that touches the long vertical line, preparing to connect to the next letter.
r: Connect from the “b”. Begin by going slightly upward from the baseline, then make a downward curve that touches the baseline and curves back up, but not as high as the midline, preparing for the connection to the next letter.
u: Begin the “u” by curving up slightly from the end of the “r”. Descend down to the baseline and then gracefully curve it back up to the midline. Curve back down to the baseline, preparing for the next letter.
a: Connect from the “u” with a slight upward curve, then curve down to the baseline. Loop back up to the midline and then down again, creating the round body of the “a”.
r: Connect from the “a”, making a similar “r” as previously described. Start with a slight upward movement, curve down to the baseline, then back up, but not reaching the midline.
y: Start the “y” from where the “r” ended. Make a curve that descends below the baseline and then gracefully arcs up to the right, forming a hook. The tail of the “y” should dip well below the baseline.
For mastering “February” in cursive, take your time practicing each letter individually to understand their shapes and movements. Once comfortable, practice connecting them in sequence. To aid your learning, you might want to reference images or videos of “February” written in cursive to ensure accuracy.