Writing in cursive, or even simple handwriting is a lost art. We live in a time where typing reigns supreme and writing is second best. Learning how to write in cursive isn't even on the list (in many cases)!
Most of our communication is digital and the immersive tactile experiences of penning a letter, hand-writing a story, or drafting a journal entry have gone the way of video rentals and tape cassettes.
Sadly, cursive writing is a lost art, with many states no longer requiring it to be taught to students. Which is an unfortunate trend for several reasons (one of which is many younger people can't even read documents written in cursive).
There’s plenty of research showing that writing in cursive triggers an assortment of brain activity and drastically improves fine motor skills. Also, writing in longhand has proven successful in helping students retain information more effectively while promoting creativity and idea generation.
Studies also suggest that children who’ve mastered cursive (as opposed to manuscript writing) tend to experience better marks on reading and spelling tests. It’s largely due to the process of connecting letters in cursive, which makes writers more considerate of the whole words instead of their singular parts.
Simply put, it’s a beautiful way to write.
Regardless of the reasons, it’s time to instill this forgotten writing technique into your children. Cursive shouldn’t be permanently forgotten in the face of the world’s overwhelming digitization.
Learning cursive isn’t mutually exclusive to children. If you’re an adult who feels typing has robbed them of artistry and creativity – or you’ve forgotten how to write in cursive – why not channel your inner penman?
Maybe you want your child to learn cursive and are looking to lead by example. While some begin as young as grade kindergarten (although not many), starting early at least helps children read (in both print and cursive) much faster.
Either way, mastering cursive as an adult is a great idea.
Not sure how to get started? Read below for helpful tips on how to write in cursive.
Before getting down to the nitty-gritty, there are some simple considerations that may seem like common sense, but many people fail to keep the following factors in mind before starting:
First and foremost, sit straight on a comfortable, ergonomic chair with your shoulders relaxed. The desk should be a few inches above your thighs with your feet flat on the floor. Writing at a desk that’s too low or too high won’t garner good results because you’ll be crouching or straining yourself.
Do some research into proper handwriting posture, it'll pay off.
An ink pen with a felt tip or a gel pen that releases a fluid line of ink is ideal for cursive writing. In order to see the writing clearly on the page, use dark ink.
Writing cursive with a pencil might be a better option if you anticipate the need to erase your letters. Note that B pencils with a triangular barrel are softer on the paper and make writing a little bit easier.
The right pen can really improve your handwriting.
By writing on lined paper, you’ll ensure that your letters mirror one another in size and shape. Ideally, the lined paper will have dotted lines in the middle of each solid line. Cursive-based lined paper can be found online or at a local school supply store.
However, don’t feel constrained by the limits of lined paper. While plain paper makes cursive more difficult – particularly with making letters uniform – it does allow for more free-flowing, looser movements.
Angling the paper allows for letters to be slanted as you write. Cursive letters should slant up and to the right by 35 degrees.

Source: Pentorium
If you’re a right-handed writer, the top right and bottom left corners of the paper should line up straight with your nose while your left arm holds the paper still. If you’re a left-handed writer, ensure the top left and bottom right corners are lined up with your nose as your right arm keeps the paper firmly in place.
The pen should be gripped loosely at a 45-degree angle, resting on your middle finger, and held in place by your thumb and index finger. Avoid tightening your grip because it’ll stiffen your fingers and ruin your technique.
Let us draw a comparison to martial arts.
Similar to karate or Kung Fu, cursive is an artistic endeavor.
And just like those fistic pursuits, perfecting cursive writing requires a mastering of the movements.
As such, before each practice session, you should partake in specific warm-ups to make cursive movements feel more fluent. You’re akin to the Karate Kid waxing on and waxing off.
Follow the instructions below to get warmed up, young grasshopper:
This warm-up didn’t just earn its name because it’ll help novice hand-writers become infinitely better at cursive. There’s a functional purpose for drawing the infinity circle.

Source: Wikipedia
For those who are unfamiliar with the infinity symbol, it’s best described as the number ‘8’ drawn sideways.
The exercise is quite simple; just draw the never-ending symbol within the squares below for 10-20 seconds:
Perfecting cursive writing comes with both metaphorical and literal peaks and valleys. Yes, some days you’ll be writing with the penmanship of an artisan. Whereas, there might be times where you’ll feel like you’ve hit a proverbial wall and are writing in clunky block letters.

But this warm-up will ensure the peaks far outweigh the valleys.
Here is how to do it; in a continuous line, draw peaks and valleys that look just like a chevron pattern prior to trying any words. This instills the technique of stopping on the pages—something required by several letters.
No, this warm-up doesn’t involve a roller coaster. Instead, it’s a way to get comfortable with the topsy-turvy nature of cursive writing.

The name of the warm-up tells the story; start upward with a curved line, draw a horizontal line, then cap off the process with a curved downward line.
Emulate actual writing by performing this warmup in a continuous line.
We promise, this exercise won’t make you feel queasy, but it may throw you for a loop.
The loop warm-up necessitates starting on the lower left of the first line, then drawing a continuous stream of loops. After completing a couple of lines, evolve the loop into a lowercase i before building up to a lowercase e.
You really wouldn't be learning, if you didn't learn the cursive alphabet.
First, start learning with lowercase letters.
Begin with u, as it’s the easiest letter to perfect.
From there, h, I, j, k, l, m, n, p, r, s, t, u, w, x, and y are the next letters to practice. They only necessitate one stroke—making them ideal for cursive novices.
In many cases, lowercase letters are confined between the top and bottom lines. Some letters go right down to the bottom of the line while others go right to the top.
Then, it’s time to work on o before transitioning into b, f, and k. The latter 3 letters are a bit trickier because, while only needing one stroke, they do consist of more intricate shapes. When these letters are perfected, it becomes simpler to write the rest of the lowercase cursive alphabet.
One form of practice is writing a, g, and o then balancing them with their curved stoker counterparts in c, d, and e.
You should only attempt uppercase letters (aka capital cursive letters) – starting with C, E, G, L – once lowercase letters have been mastered.
After you’re comfortable with the above list, it’s time to work on R – as it’s the most difficult letter to write in cursive. However, when you’ve become proficient with R it’ll start feeling natural to write other letters. Therefore, learning more complex letters like B, D, F, I, J, P, and T will be more seamless.
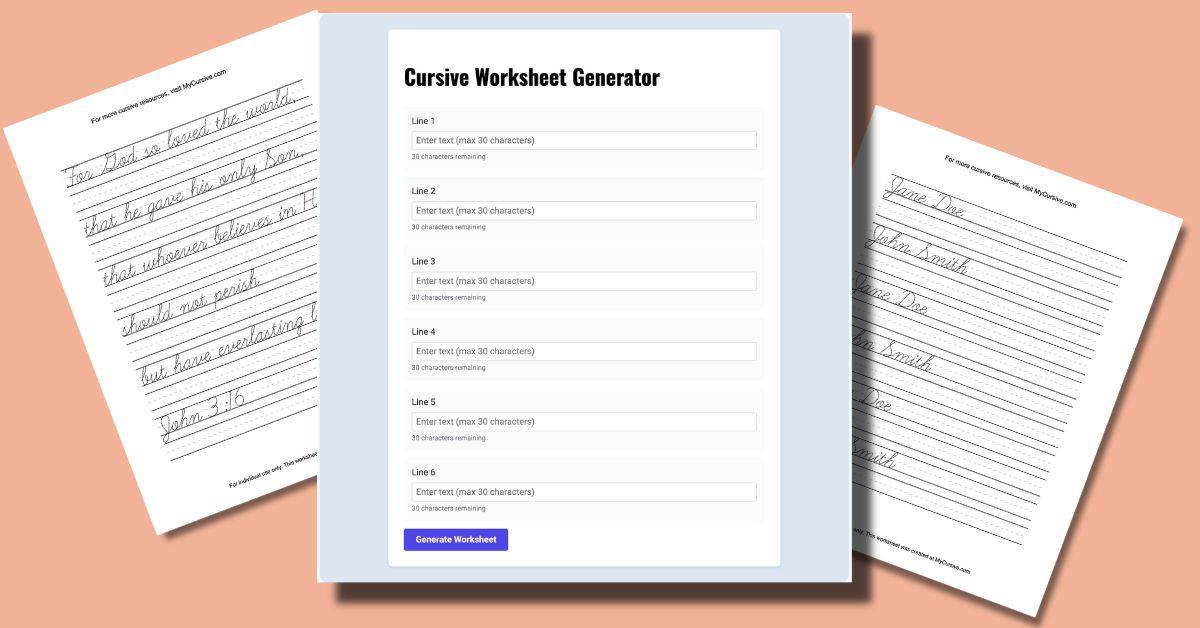
We suggest using worksheets so you can monitor your progress.
You can choose a preferred cursive font with which to write. Choosing a cursive writing style is important to the overall success of learning cursive. Use MS Word for a display of what the fonts will look like.
Here are the more common choices; Allura, Aguafina Script Pro, Blackjack, Caballero, Columbine Light, Kuenstler Script, Fancier Script, Lavender Script, Shelley Script, Citadel Script, Buffet Script, Hummingbird, Creamy Script, Ragazza Script, Ritts Cursive, Belinda, Style Script, Bendo Script, and Brody.
After you are comfortable with the letters, it's natural to want to spell words. You can begin with simple words or even write your name.
Just like playing the guitar, lifting weights, or – as we discussed earlier – doing karate, cursive requires muscle memory to master. As such, you need to commit to regularly practicing at least 20 minutes during any time of the day.
As with anything you’re aiming to perfect, you need to make cursive a priority. That means finding ways to fit it into your life.
After first learning lowercase and moving onto uppercase cursive, look for reasons to write in cursive. Yes, typing is always going to be a part of your life. But there’s no reason that you can’t fit cursive writing into your digitally-focused world.
So, start penning the first drafts of essays or important emails in cursive, for instance, before entering them onto the computer.
Depends on the form and some nuance, but connecting letters in a word (aka, the basic form of cursive) originated in Greek and Roman cultures. It evolved and something close to what we do today came about in the 1500s. We wrote a full article about it here.
Yes, IF you've never learned cursive and feel like it's something you want to do. We've found it's an easy skill to pick up, if you can handwrite in print.
Absolutely! It's originally why we started MyCursive — to help Gen Z and Gen Alpha learn to write in cursive, because many schools stopped teaching it. You're on one of the best pages for it, too. Our Cursive Hub is possibly the best place on the internet to learn cursive.
Yes! Nearly half of of the states in the USA require cursive in public schools. And in the states that don't have a legal requirement, many schools and districts still include cursive writing in their standards.
Not if we can help it!
Recently, there's been a resurgence in schools and states that teach cursive to students. There are also so many artists and influencers who are improving their art via cursive and calligraphy.